
Why Build Your Own Outdoor Bench?
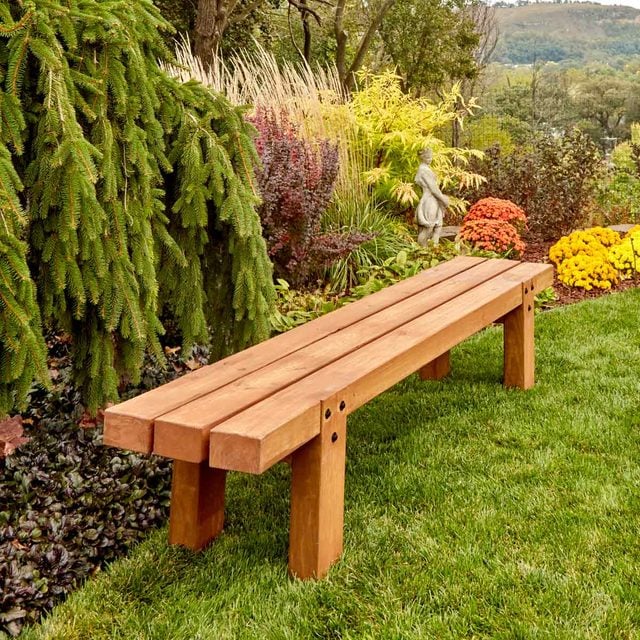
An outdoor bench adds both function and charm to your garden, patio, or balcony. Store-bought benches can be expensive, but building your own saves money and gives you a custom piece that fits your style. With just a few tools and materials, you can complete this project over a weekend.
Materials You’ll Need
- 2 wooden planks (for the seat and backrest)
- 4 sturdy wooden legs (you can cut from 4×4 timber)
- Screws or bolts
- Drill
- Sandpaper
- Wood stain or paint (optional for finishing)
- Measuring tape and pencil
Step-by-Step Instructions
1. Cut the Wood to Size
Decide how long and wide you want your bench. A standard size is about 4 feet long and 18 inches high. Cut the wood accordingly.
2. Assemble the Frame
Attach the legs to the seat plank using screws or bolts. Make sure the legs are evenly spaced and sturdy.
3. Add the Backrest
Secure a wooden plank vertically at the back of the seat to create support for your back. You can keep it straight or angle it slightly for comfort.
4. Sand and Smooth
Use sandpaper to smooth all surfaces and edges. This step prevents splinters and gives your bench a polished look.
5. Finish with Stain or Paint
If the bench will stay outdoors, apply a protective wood stain or paint. This helps prevent damage from rain and sunlight.
Design Variations
- Add armrests for extra comfort.
- Use recycled wood for a rustic, eco-friendly look.
- Place cushions on top for added style and comfort.
Final Thoughts: A Weekend Well Spent
In just one weekend, you can build a practical and stylish outdoor bench that enhances your living space. It’s a rewarding DIY project for beginners and seasoned makers alike — simple, affordable, and useful for years to come.