Category Archives: DIY

Budget-Friendly Patio Makeover Ideas

Why Refresh Your Patio?

Your patio is an extension of your home — a place to relax, entertain, or enjoy a meal outdoors. But creating a welcoming outdoor space doesn’t have to cost a fortune. With a little creativity and some DIY spirit, you can give your patio a whole new look on a budget.

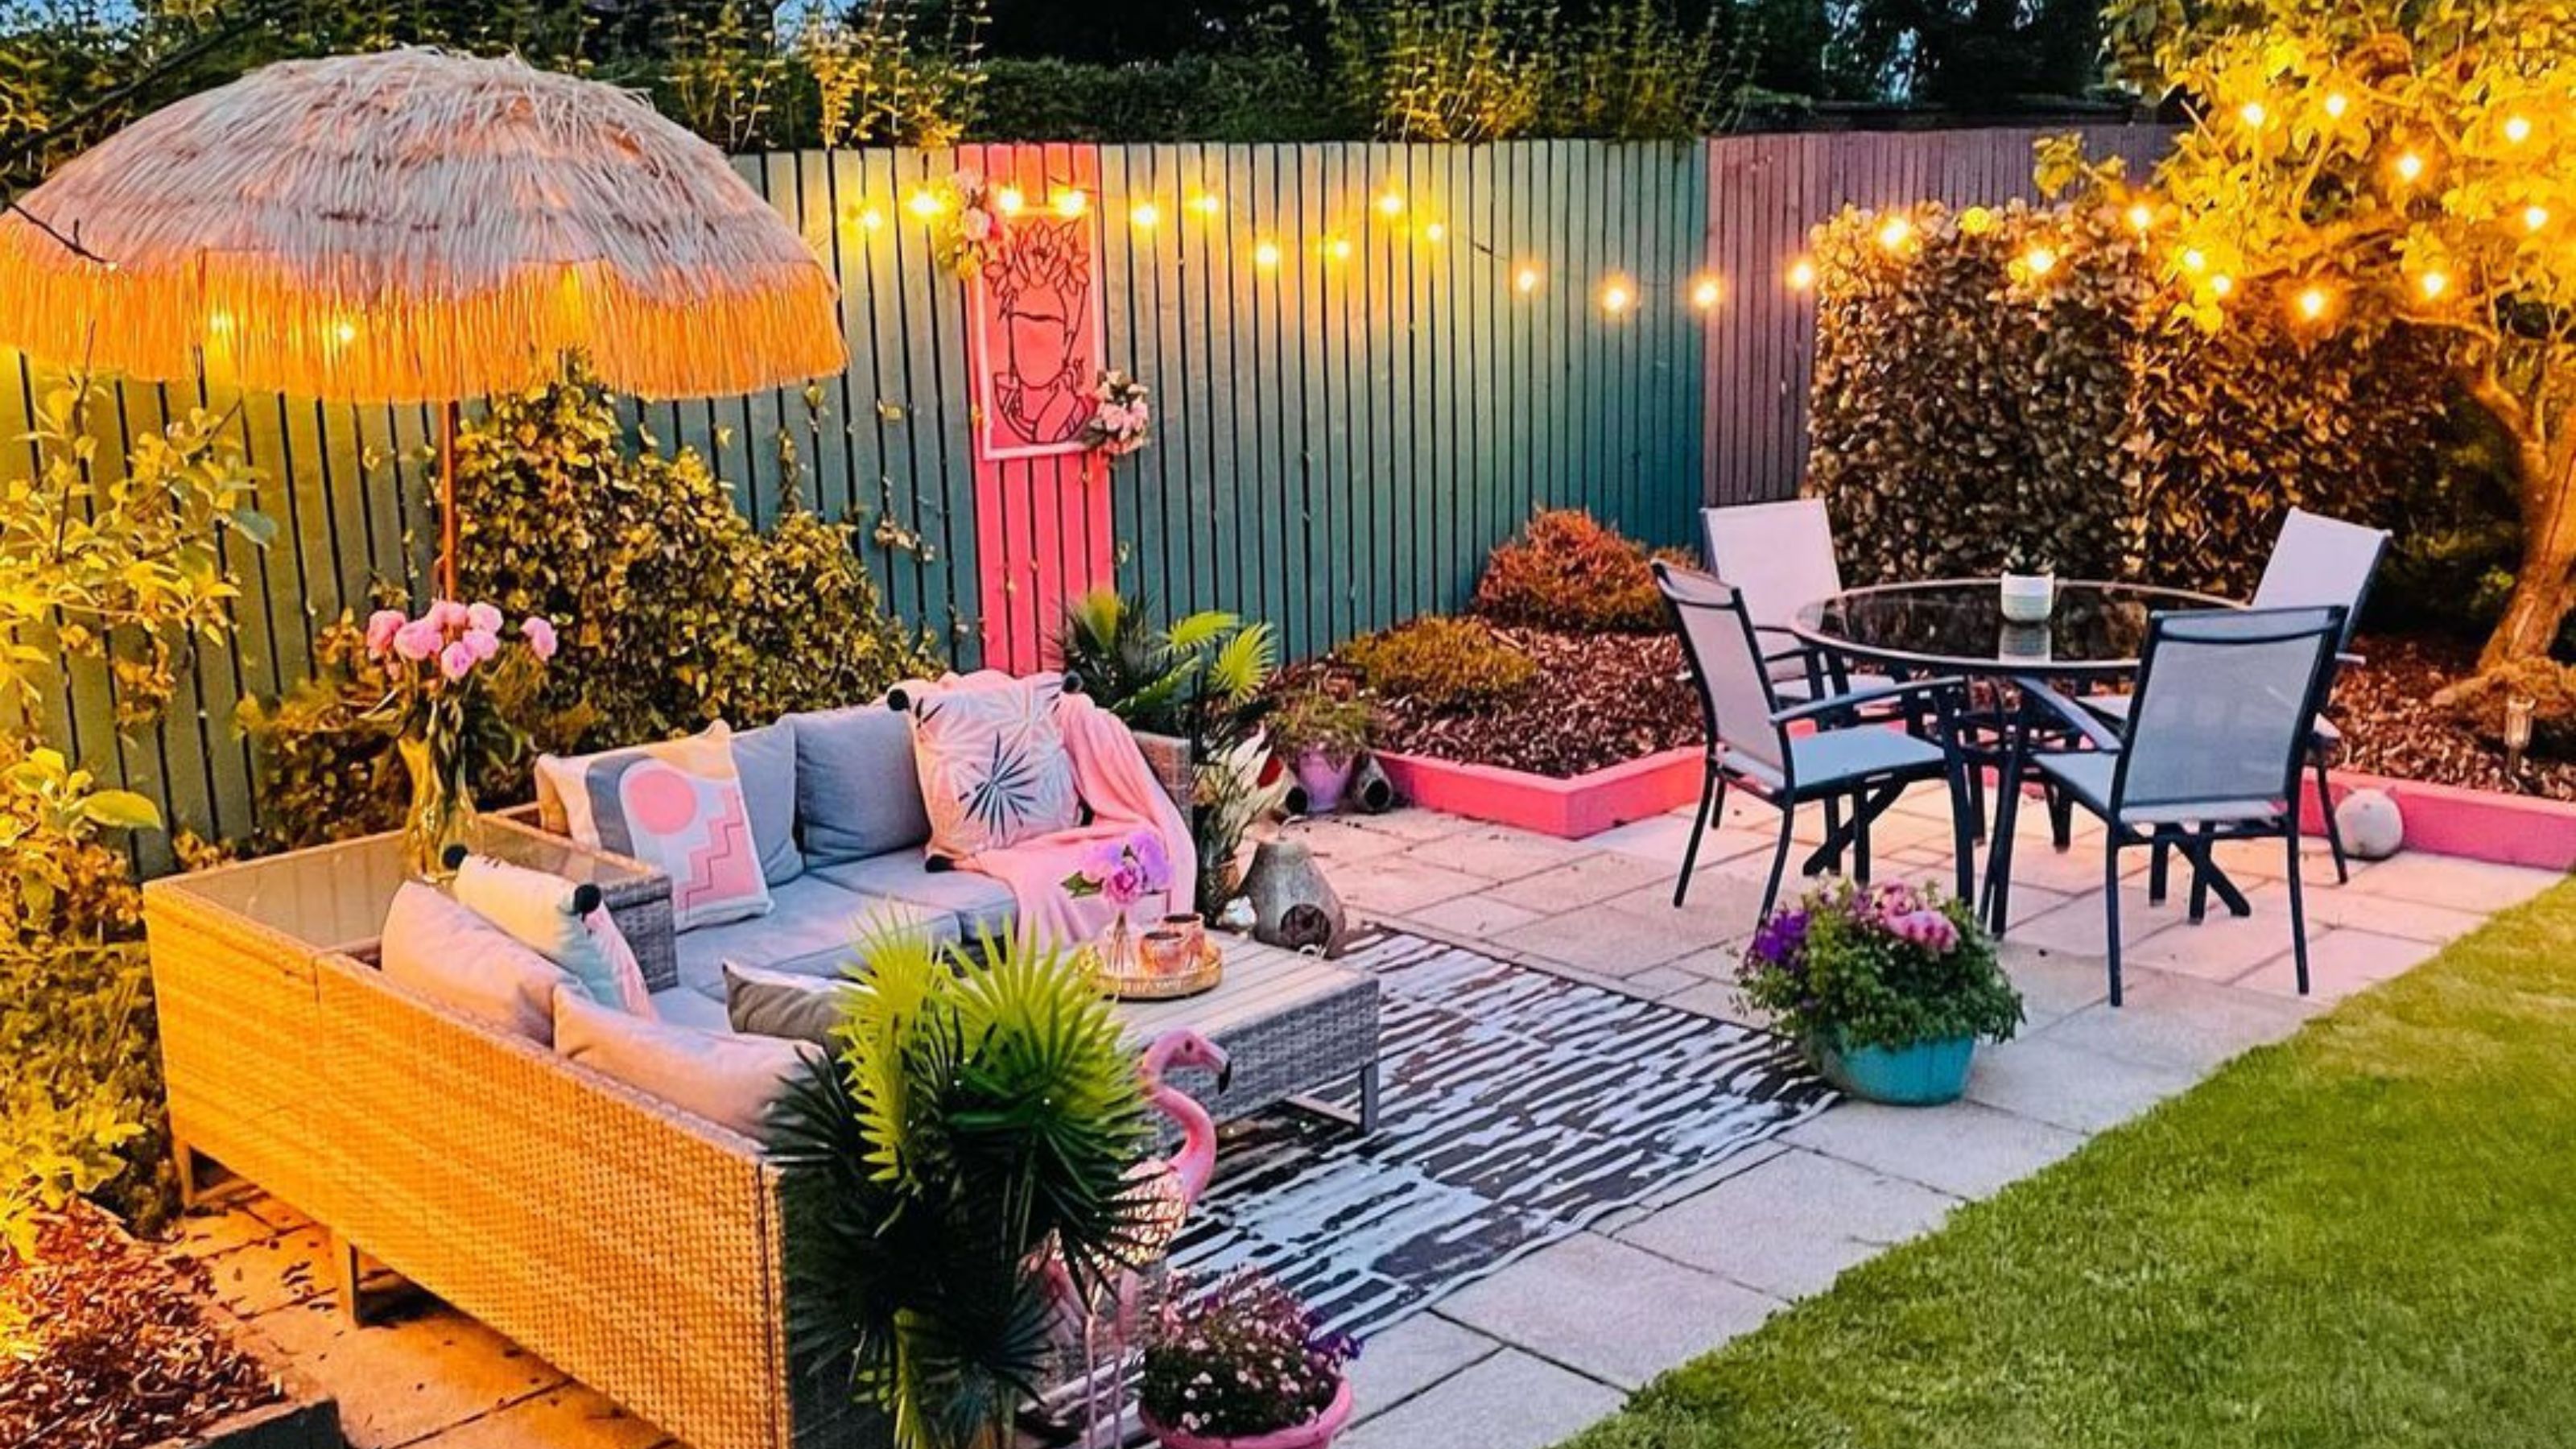
Add Greenery with Potted Plants

Plants instantly bring life and freshness to any patio. Use affordable terracotta pots, recycled containers, or even hanging baskets to add colour and vibrancy. Mix flowers, herbs, and small shrubs for a balanced look.

DIY Outdoor Lighting

Lighting can change the entire mood of your patio. String lights, solar lanterns, or mason jar lamps are affordable ways to create a warm, inviting glow. For extra charm, wrap fairy lights around railings or trees.

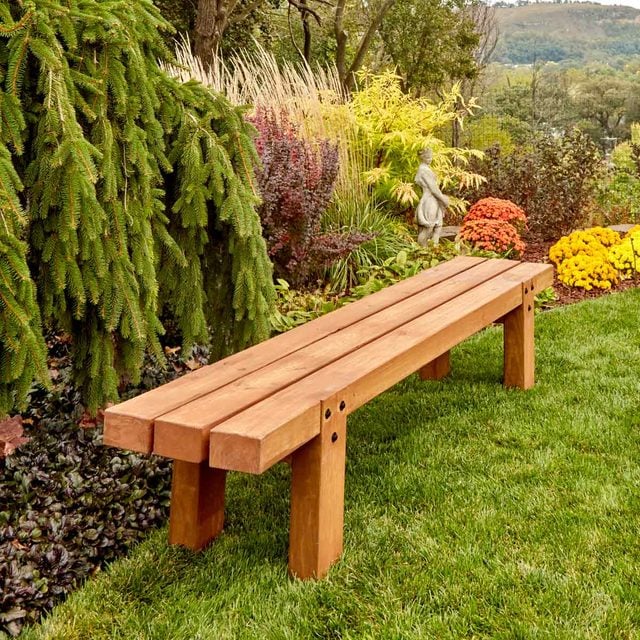
Upcycle Old Furniture

Instead of buying new furniture, breathe new life into old chairs and tables with a coat of paint or new cushions. Wooden crates can be turned into side tables, while pallets can be transformed into stylish seating areas.

Add Outdoor Rugs and Cushions

Textiles make a big difference in comfort and style. Look for weather-resistant rugs and cushions to brighten up the space. Patterns and bold colours can give your patio a fresh, modern look without much expense.

Create a DIY Fire Pit or Focal Point

If your space allows, a small DIY fire pit made from bricks or stones can become the heart of your patio. Alternatively, add a focal point like a water feature or a wall of potted plants to draw attention.


Final Thoughts: Style Doesn’t Have to Be Expensive

A beautiful patio doesn’t require a big budget. By mixing greenery, creative lighting, and upcycled furniture, you can create a cosy outdoor retreat that feels inviting and personal. It’s all about making the most of what you already have and adding a few thoughtful touches.

Step-by-Step Guide to Making Your Own Bird Feeder

Why Make a Bird Feeder?

Bird feeders bring more life and sound to your garden while helping local bird populations find food. They’re also fun projects you can do with kids, using simple materials you likely already have at home. Plus, watching birds gather outside is a relaxing and rewarding experience.

Materials You’ll Need

  • An empty plastic bottle or a milk carton
  • Wooden spoons or sticks (for perches)
  • String or wire (to hang the feeder)
  • Scissors or a craft knife
  • Bird seed mix

Step-by-Step Instructions

1. Prepare the Container
Clean your bottle or carton thoroughly. Make sure it’s dry before you start cutting.

2. Cut Feeding Holes
Cut small holes near the base of the container, just big enough for birds to peck through. If you’re using a plastic bottle, insert wooden spoons or sticks through the holes to create perches.

3. Fill with Bird Seed
Pour in your chosen seed mix — sunflower seeds, millet, or oats are great options. Don’t overfill; leave some space at the top.

4. Secure and Hang
Attach string or wire around the top of the feeder and hang it from a tree branch, balcony railing, or garden hook. Make sure it’s in a safe spot away from predators like cats.

5. Maintain Regularly
Refill the feeder as needed and clean it every couple of weeks to prevent mould or bacteria buildup.

Fun Variations

  • Use a pine cone coated in peanut butter and rolled in seeds for a quick feeder.
  • Repurpose old mugs by tying them to branches and filling them with seeds.
  • Build a wooden feeder for a sturdier, long-term option.

Final Thoughts: A Garden Full of Life

Making your own bird feeder is a quick, budget-friendly DIY project that benefits both you and your local wildlife. With just a few materials, you can create a welcoming space for birds while adding charm and activity to your garden.

Creative Indoor Herb Planters Made from Household Items

Why Indoor Herb Planters?

Fresh herbs can transform ordinary meals into something special, and having them within arm’s reach makes cooking easier. The good news? You don’t need fancy pots or expensive planters. With a little creativity, you can repurpose common household items into charming and practical herb containers.

Mason Jars as Rustic Planters

Mason jars are one of the simplest and most attractive options. They’re clear, easy to handle, and add a rustic charm to your kitchen windowsill. Just add a layer of pebbles for drainage, fill with potting soil, and plant herbs like basil, thyme, or parsley.

Tin Cans with a Pop of Colour

Instead of tossing out old food cans, clean and paint them to create vibrant herb planters. Punch a few holes at the bottom for drainage and line them with small stones. These colourful cans not only brighten your space but also reduce waste.

Teacups and Mugs with Personality

That mismatched teacup set or quirky mug in your cupboard can make an adorable mini herb planter. Perfect for small herbs like chives or mint, these planters add personality to your kitchen shelf or dining table.

Wooden Crates Turned into Herb Boxes

If you have an old wooden crate lying around, transform it into a multi-herb planter. Line it with plastic or a grow bag, fill it with soil, and plant a variety of herbs side by side. It’s a great way to keep everything organised while looking stylish.

Hanging Planters from Bottles

Cut plastic bottles or glass bottles in half and hang them with twine to create vertical herb planters. This saves space and adds a decorative touch to any wall or balcony. Herbs like coriander and oregano grow well in hanging containers.


Final Thoughts: Style Meets Function

Indoor herb planters don’t need to be expensive. With a bit of imagination, everyday household items can be repurposed into creative, eco-friendly planters that keep your kitchen stocked with fresh flavours. It’s a win-win for both your home and the environment.

How to Build a Simple Outdoor Bench in One Weekend

Why Build Your Own Outdoor Bench?

An outdoor bench adds both function and charm to your garden, patio, or balcony. Store-bought benches can be expensive, but building your own saves money and gives you a custom piece that fits your style. With just a few tools and materials, you can complete this project over a weekend.

Materials You’ll Need

  • 2 wooden planks (for the seat and backrest)
  • 4 sturdy wooden legs (you can cut from 4×4 timber)
  • Screws or bolts
  • Drill
  • Sandpaper
  • Wood stain or paint (optional for finishing)
  • Measuring tape and pencil

Step-by-Step Instructions

1. Cut the Wood to Size
Decide how long and wide you want your bench. A standard size is about 4 feet long and 18 inches high. Cut the wood accordingly.

2. Assemble the Frame
Attach the legs to the seat plank using screws or bolts. Make sure the legs are evenly spaced and sturdy.

3. Add the Backrest
Secure a wooden plank vertically at the back of the seat to create support for your back. You can keep it straight or angle it slightly for comfort.

4. Sand and Smooth
Use sandpaper to smooth all surfaces and edges. This step prevents splinters and gives your bench a polished look.

5. Finish with Stain or Paint
If the bench will stay outdoors, apply a protective wood stain or paint. This helps prevent damage from rain and sunlight.

Design Variations

  • Add armrests for extra comfort.
  • Use recycled wood for a rustic, eco-friendly look.
  • Place cushions on top for added style and comfort.

Final Thoughts: A Weekend Well Spent

In just one weekend, you can build a practical and stylish outdoor bench that enhances your living space. It’s a rewarding DIY project for beginners and seasoned makers alike — simple, affordable, and useful for years to come.

DIY Raised Garden Bed Using Recycled Wood

Why Build a Raised Garden Bed?

Raised garden beds are an excellent way to organise your garden, improve soil quality, and reduce weed problems. They also make gardening more accessible by reducing the need to bend down. The best part? You don’t need to spend much — with recycled wood, you can create a sturdy, eco-friendly garden bed at little to no cost.

Materials You’ll Need

  • Recycled wooden planks (from pallets, old furniture, or scrap wood)
  • Screws or nails
  • Drill or hammer
  • Saw (if cutting is needed)
  • Measuring tape
  • Optional: landscaping fabric to line the base

Step-by-Step Instructions

1. Measure and Cut the Wood
Decide the size of your bed. A common size is 4 feet by 2 feet with a height of 12–18 inches. Cut your planks to the right length.

2. Build the Frame
Lay out the planks to form a rectangle. Attach the corners securely with screws or nails. Reinforce with extra wood pieces if needed for stability.

3. Choose the Location
Place your garden bed in a sunny spot with good drainage. Make sure it’s level so water doesn’t pool on one side.

4. Prepare the Base
Line the bottom with cardboard or landscaping fabric to suppress weeds. This also helps retain soil while allowing drainage.

5. Fill with Soil
Use a mix of compost, topsoil, and potting mix. This creates nutrient-rich soil that supports strong plant growth.

6. Plant and Enjoy
Now comes the fun part — fill your bed with vegetables, herbs, or flowers of your choice. Raised beds warm up faster in spring, giving your plants a head start.

Extra Tips

  • Use untreated wood to avoid chemicals leaching into your soil.
  • Add mulch on top to retain moisture and reduce weeds.
  • If using pallet wood, ensure it’s heat-treated and safe for gardening.

Final Thoughts: Sustainable Gardening Made Easy

A DIY raised garden bed is a satisfying project that combines sustainability with practicality. By using recycled wood, you save money, reduce waste, and create the perfect space for growing your own fresh produce right at home.