Monthly Archives: April 2025

Easy Homemade Bread Even Beginners Can Bake

Why Bake Your Own Bread?

Homemade bread is fresher, tastier, and healthier than store-bought loaves. Plus, baking your own is surprisingly simple and rewarding. You don’t need to be an expert baker or own a bread machine — just a few ingredients and patience will give you a warm loaf straight from the oven.


Basic Ingredients

  • 3 cups all-purpose flour (or bread flour for extra chewiness)
  • 2 teaspoons instant yeast
  • 1 teaspoon salt
  • 1 tablespoon sugar
  • 1 cup warm water
  • 2 tablespoons olive oil or melted butter

Step-by-Step Method

1. Mix the Dough
In a large bowl, combine warm water, sugar, and yeast. Let it sit for 5 minutes until frothy. Add flour, salt, and oil, then stir until a dough forms.

2. Knead
Transfer the dough to a floured surface and knead for 8–10 minutes until smooth and elastic. (If you prefer, use a stand mixer with a dough hook.)

3. First Rise
Place the dough in a greased bowl, cover it with a cloth, and let it rise for 1–2 hours until it doubles in size.

4. Shape and Second Rise
Punch down the dough, shape it into a loaf, and place it in a greased loaf tin. Cover again and let it rise for 30–40 minutes.

5. Bake
Preheat the oven to 180°C (350°F). Bake for 25–30 minutes, or until the bread sounds hollow when tapped on the bottom.
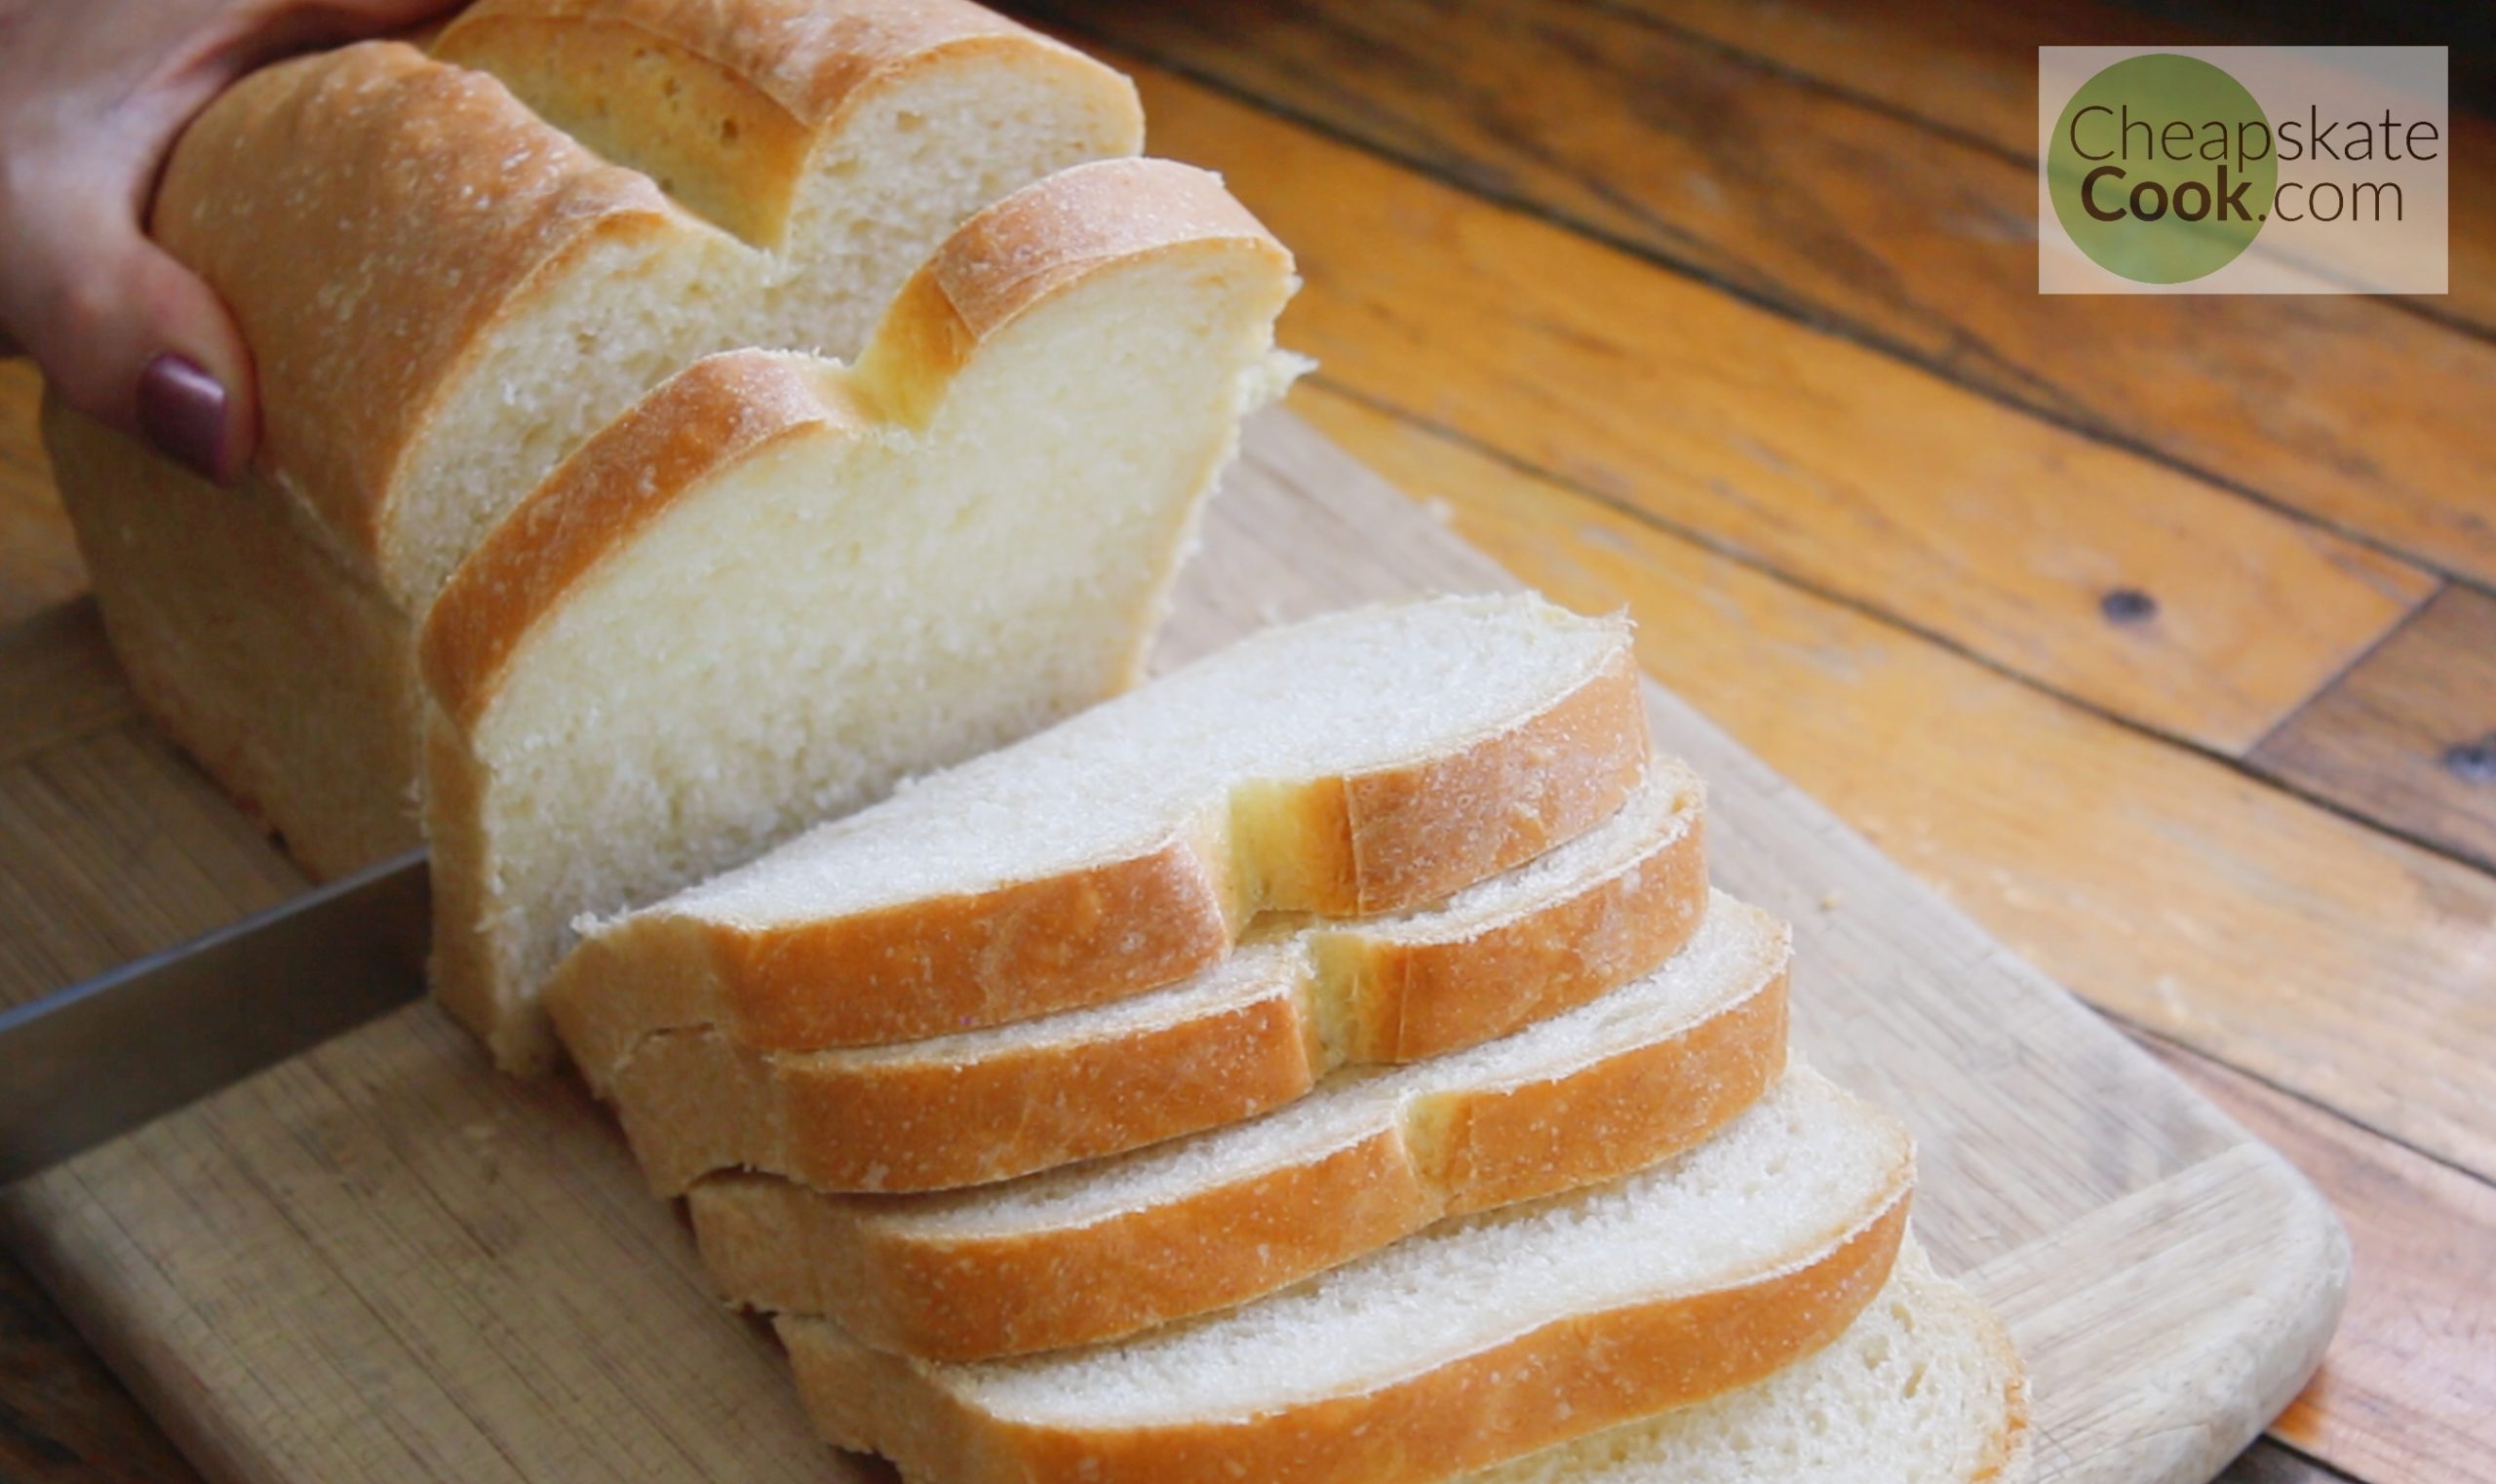
6. Cool and Enjoy
Allow the bread to cool before slicing to keep the crumb soft and intact.


Variations to Try

  • Add herbs like rosemary or garlic for extra flavour.
  • Mix in seeds such as sesame or sunflower for a crunchy crust.
  • Swap some flour for whole wheat for a heartier loaf.

Final Thoughts: Fresh Bread, Made Simple

Once you try homemade bread, it’s hard to go back to packaged loaves. With minimal effort and basic ingredients, you can fill your home with the smell of fresh baking and enjoy bread that’s both delicious and wholesome.

Creative Indoor Herb Planters Made from Household Items

Why Indoor Herb Planters?

Fresh herbs can transform ordinary meals into something special, and having them within arm’s reach makes cooking easier. The good news? You don’t need fancy pots or expensive planters. With a little creativity, you can repurpose common household items into charming and practical herb containers.

Mason Jars as Rustic Planters

Mason jars are one of the simplest and most attractive options. They’re clear, easy to handle, and add a rustic charm to your kitchen windowsill. Just add a layer of pebbles for drainage, fill with potting soil, and plant herbs like basil, thyme, or parsley.

Tin Cans with a Pop of Colour

Instead of tossing out old food cans, clean and paint them to create vibrant herb planters. Punch a few holes at the bottom for drainage and line them with small stones. These colourful cans not only brighten your space but also reduce waste.

Teacups and Mugs with Personality

That mismatched teacup set or quirky mug in your cupboard can make an adorable mini herb planter. Perfect for small herbs like chives or mint, these planters add personality to your kitchen shelf or dining table.

Wooden Crates Turned into Herb Boxes

If you have an old wooden crate lying around, transform it into a multi-herb planter. Line it with plastic or a grow bag, fill it with soil, and plant a variety of herbs side by side. It’s a great way to keep everything organised while looking stylish.

Hanging Planters from Bottles

Cut plastic bottles or glass bottles in half and hang them with twine to create vertical herb planters. This saves space and adds a decorative touch to any wall or balcony. Herbs like coriander and oregano grow well in hanging containers.


Final Thoughts: Style Meets Function

Indoor herb planters don’t need to be expensive. With a bit of imagination, everyday household items can be repurposed into creative, eco-friendly planters that keep your kitchen stocked with fresh flavours. It’s a win-win for both your home and the environment.

Beginner’s Guide to Composting at Home

Why Composting Matters

Composting is one of the easiest ways to recycle kitchen and garden waste while creating a free, nutrient-rich fertiliser for your plants. Instead of sending food scraps to landfill, you can turn them into “black gold” that improves soil structure, boosts plant growth, and reduces household waste.

What You Can Compost

The key to successful composting is balancing greens (nitrogen-rich materials) and browns (carbon-rich materials).

  • Greens: Fruit and vegetable scraps, coffee grounds, tea bags, fresh grass clippings.
  • Browns: Dry leaves, cardboard, shredded paper, twigs.
    Avoid adding meat, dairy, oily food, or pet waste, as these can cause odours and attract pests.

Choosing a Composting Method

There are several ways to compost, depending on your space:

  • Compost Bin: Perfect for small backyards or balconies.
  • Compost Pile: Works well if you have a larger garden.
  • Worm Bin (Vermicomposting): Ideal for indoors or apartments — worms break down scraps quickly and produce nutrient-rich worm castings.

Step-by-Step Composting Process

  1. Layering: Start with a layer of browns at the bottom for airflow. Alternate layers of greens and browns.
  2. Moisture: Keep the pile damp, like a wrung-out sponge. Too dry? Add more greens. Too wet? Add more browns.
  3. Turning: Mix or turn the pile every 1–2 weeks to add oxygen and speed up decomposition.
  4. Patience: Compost can take 2–6 months to mature, depending on the method and conditions.

Using Your Compost

Once the compost is dark, crumbly, and has an earthy smell, it’s ready to use. Mix it into potting soil, spread it around plants as mulch, or use it to enrich garden beds. Your plants will thank you with healthier growth and better yields.


Final Thoughts: Small Effort, Big Rewards

Starting a composting habit at home may seem intimidating at first, but it’s simple once you get started. With the right balance of greens and browns, a little patience, and regular care, you’ll reduce waste and create natural fertiliser that makes your garden thrive.